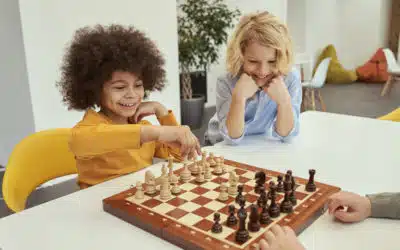
5 year olds are full of life! They jump, climb, slide and talk almost as well as adults! Activities for 5 year olds are varied, from obstacle courses to keep them active, to arts and crafts such as coloring and drawing. Today, Kidlee offers you an activity for 5 year olds that everyone loves: a paper mache workshop!
Overview of 5-year-old development:

By age 5, children are enjoying life to the fullest! They are full of energy and are becoming more and more sociable.
Their understanding of the world around them grows. What's more, they can tell the difference between different times of day, and distinguish between left and right, so their curiosity grows. His drawings are therefore more precise, and straight shapes are cut with greater ease. He now knows all the colors and can name shapes and sizes. He is also now able to express himself clearly.
Paper mache as an activity for 5 year olds

Around the ages of 4 1/2 and 5, you can offer your children a papier-mâché workshop. Not only is papier mâché a very economical activity, it's also very easy to use, and helps prepare children for the art of modeling! What's more, doing a papier-mâché workshop together is a great way to spend some quality family time.
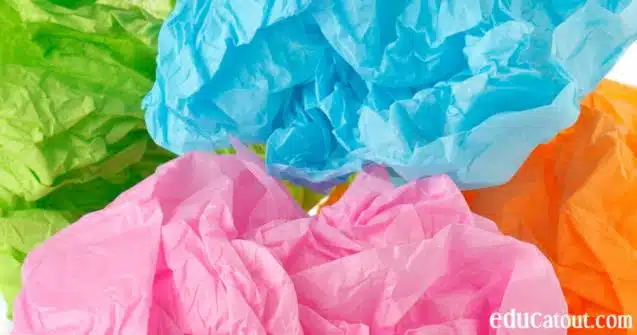
Children love to discover new textures and manipulate them... Papier mâché is like a playmat for older children, the flour of adults.
The papier-mâché workshop will refine the precision of the gestures, as the child will need to concentrate in particular when laying the paper strips. On the other hand, drying takes a long time, depending on the quantity of papier-mâché used, and once dry, children can add color to their creations.
Activity for children 5 years old : paper mache workshop
The paper mache recipe
The ingredients
- 1 cup of cold water
- ¼ cup all-purpose flour.
- 5 cups of water
For making piñata, structures of all kinds, models, etc.
The steps
- Mix the flour with a cup of cold water in a bowl until the mixture is smooth.
- Heat 5 cups of water in a large pot until boiling.
- Add flour-water mixture to boiling water. Continue boiling, stirring constantly, for 3-5 min.
- Remove from heat, empty into a bowl and let cool.
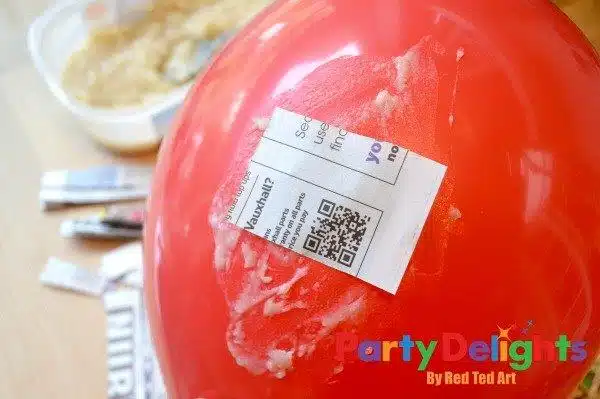
- Dip strips of newspaper into the mixture and cover the object to be formed with several layers (e.g. balloon, box, etc.).
Source: Educatout
The paper mache technique
- Remove excess with fingers before applying the tape to the substrate.
- Cover the support with paper glue and apply the strips of newspaper, then start again...
- Smooth the surface with your hands.
- Allow to cool for 24 hours before applying a new layer of paper mache or decorating your creation.
- Avoid using too much mixture, it will take forever to dry!
How to make a piñata:
you will need :
- Old newspaper
- A balloon
- Masking tape
- Paintings of different colors
- Pencil
- Hanging rope and hanging rod
- Treats
Realization:
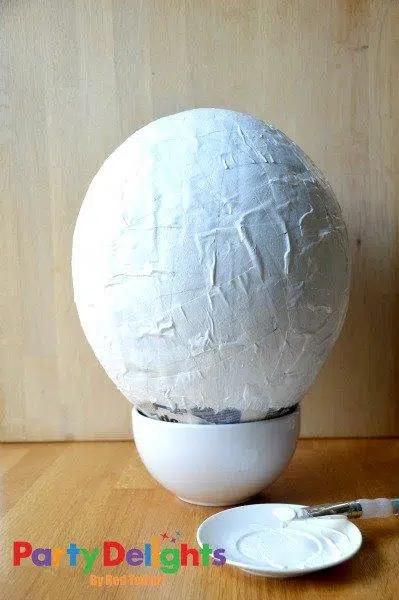
First, start by making your paper mache dough - it's very easy to do. First, mix your flour and water in a disposable container and microwave or heat in a saucepan while stirring.
Meanwhile, cut your newspaper into strips (you can also tear it up). Also make sure you have different sizes and lengths. Large pieces to start, then smaller pieces to finish your piñata.
Once everything is ready, let's go! Apply paste to the balloon and add your paper. Then add paste to the top. You can use a brush to do this, but it's quicker and easier if you continue with your hands. Continue smoothing your paper and glue it to the balloon.
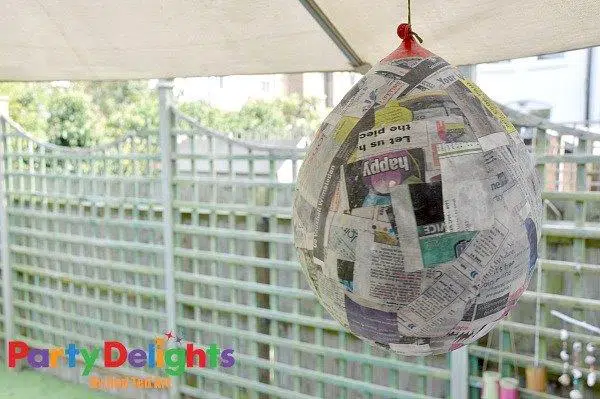
Create 2-3 layers. Since this is a piñata that kids will have to break later, avoid making your piñata too solid.
Then hang the balloon somewhere to dry - preferably don't touch anything in the first 3-4 hours as it is quite wet. Once it dries a bit, you can then hang it on a chair inside and let it dry completely for 2-3 days. Once completely dry, gently pop your balloon and remove it.
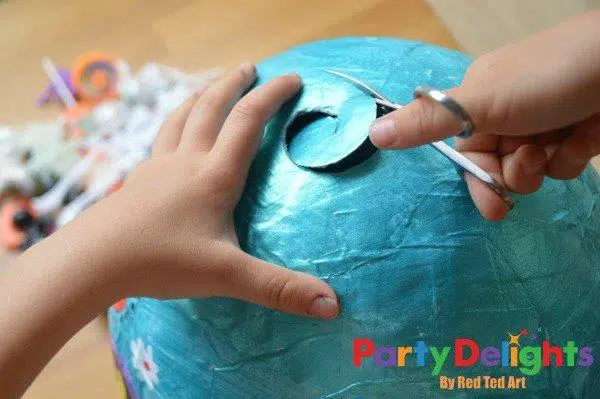
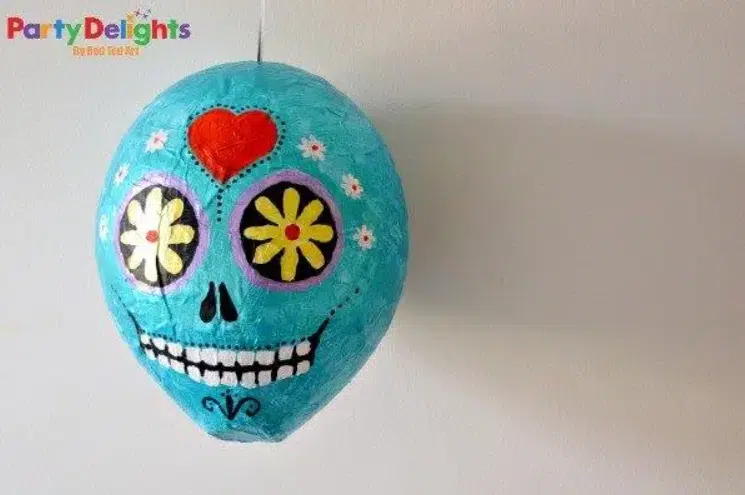
Finally, decorate the piñata as you wish!
The decoration always starts by painting the piñata white, so that you can have a clear base and design later on. Don't forget to let it dry well once the decoration is done.
You can then add the candies by cutting out the piñata on top. On the one hand, this will allow you to add the candies, and on the other hand, it will allow you to hang the piñata to get the party started!
Find the DIY in detail on Redtedart