You are looking for a child activity from great babysitter ? Why not offer a car to the child! But how? Well, in cardboard! His first car in more eco-responsible! Kidlee proposes 3 ways to make a cardboard car with the children. It is also the occasion to remind the good ecological gestures.
Ready to become a top nanny ? So get to your boxes!
How to make a large cardboard car?
First, you'll need to gather your fabrication tools and put on your nanny do-it-yourselfers! You will need :
- A large cardboard box
- Adhesive tape
- One meter
- A pencil
- A cutter
- Hot glue (optional)
- Acrylic paints (optional)
- A brush (optional)
Making the cardboard car with the child
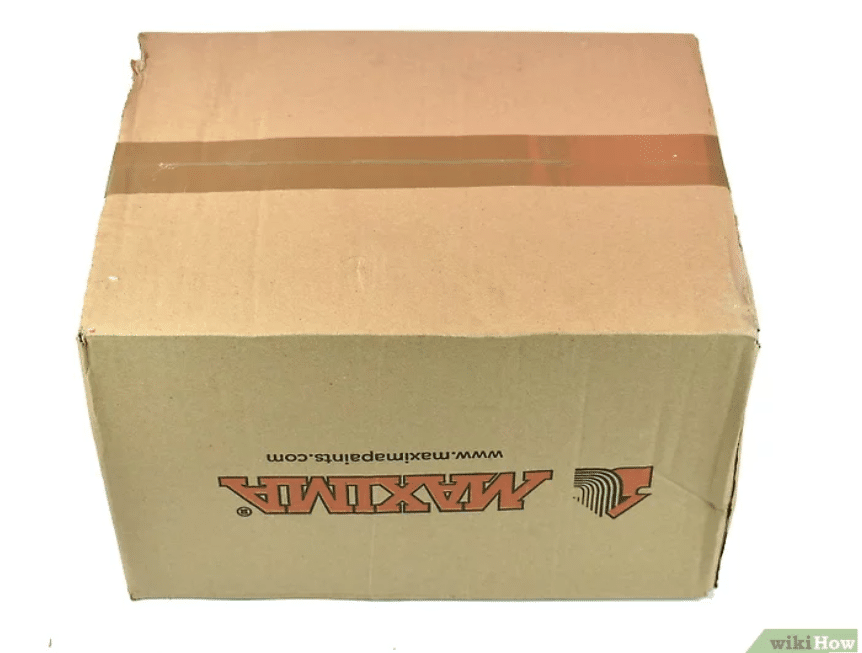


The first and most important step! (of course): find a large box rectangular! You'll need to find a box that the child can fit into - moving boxes usually do the trick. If you can recycle a box would be ideal!
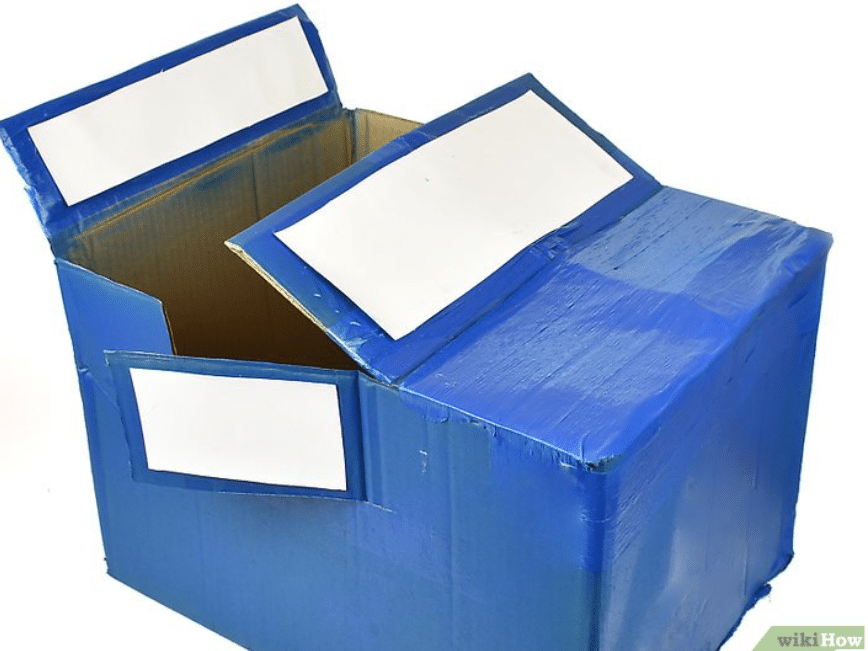
First, start by seal the bottom of the box with adhesive tape. Then close the top, leaving a short flap on the outside. The latter will be the rear of the car.
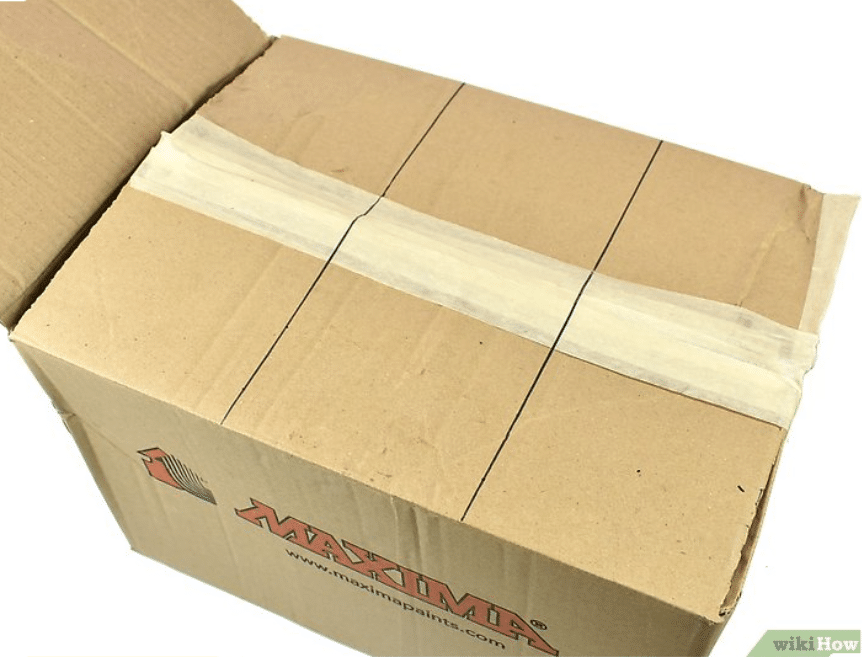
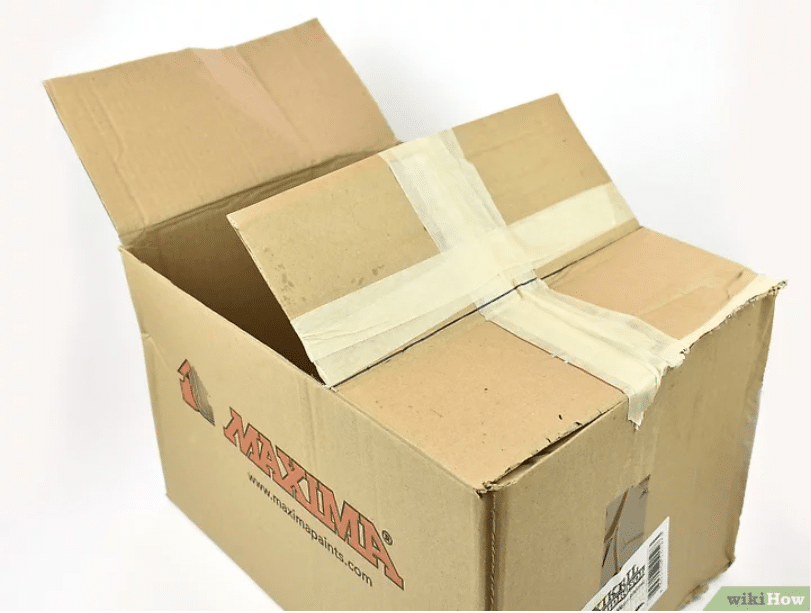
Once the box is securely taped, divide the length of the top of the latter in three equal parts. Then remove the last section, cut out the middle section on the sides only and fold it to make the windscreen. Fold the two flaps in half and glue them in turn.
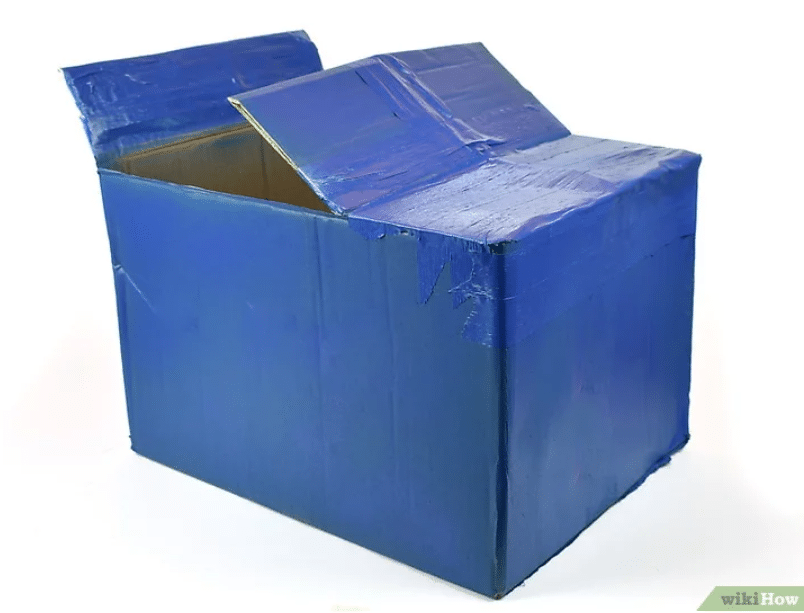
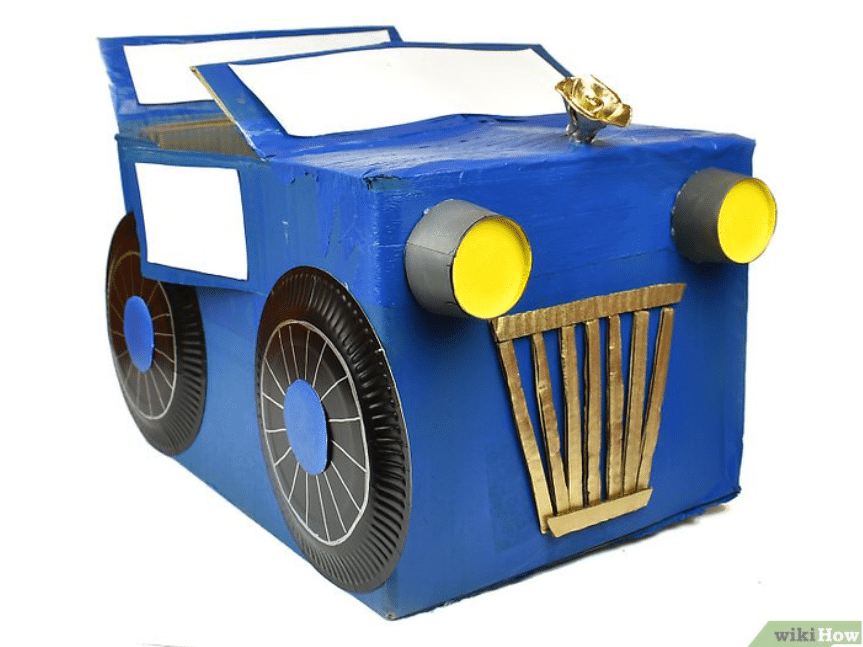
Make way for the color of the car! Have fun painting the car with your child and personalize it according to your child's preferences!
Use acrylic paint or spray paint, we advise you to place the box on newspaper or an old tablecloth to avoid stains. Do not hesitate to add a second coat for a cleaner look. Let it dry well.
Once the box is dry, cut out the doors To make it easier to open and close the door, cut vertically below the windshield and fold. Then glue white sheets to act as door windows, and front and rear windscreens.
With the help ofcardboard plates or plastic that you are going to paint black, you will make the wheels of the cardboard car. Position the wheels to glue them about 15 cm from the front and rear of the car usingParisian attachments or glue.
Add little details!
Finally, add different details to your car to give it a special style that suits the child's taste: headlights, license plate, grille. You can also make them from cardboard, then paint and glue them.
And that's it! You are the nanny of the year with cardboard, paint and a cutter! The kids will be amazed to have a babysitter as cool as you are!
Find this manual activity in detail on Wikihow.
Cardboard car type mini bus vintage

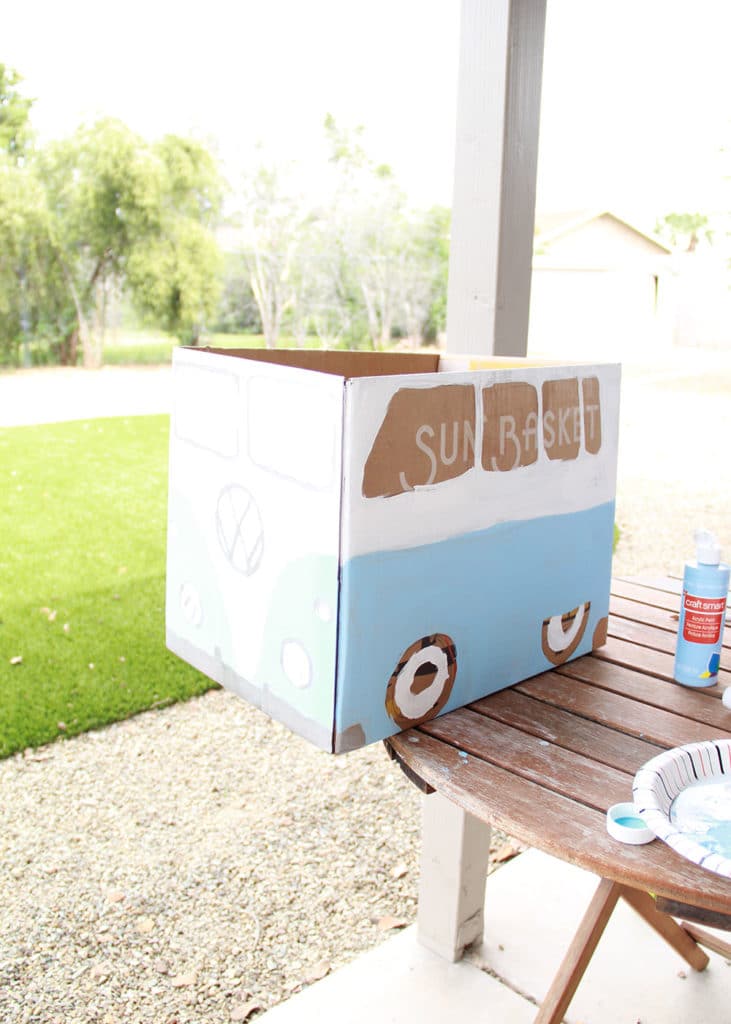
If you are a nanny more focused on the creativity and a little less in DIY, making this cardboard car should be a breeze!
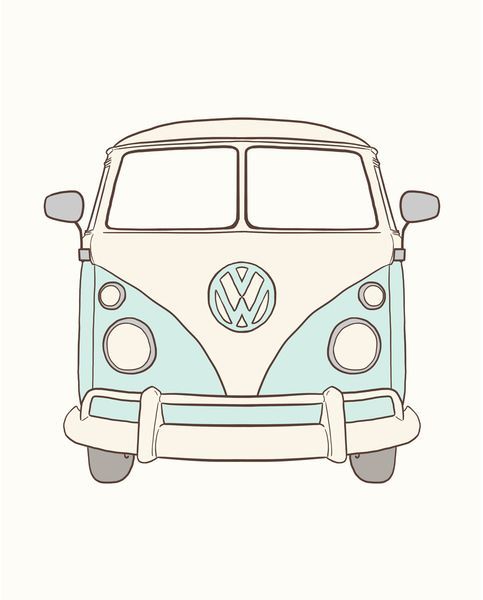
Make a VW minibus out of cardboard, it's the ultimate in nanny top stylish!
First, get a relatively large box so that the children can sit in it.
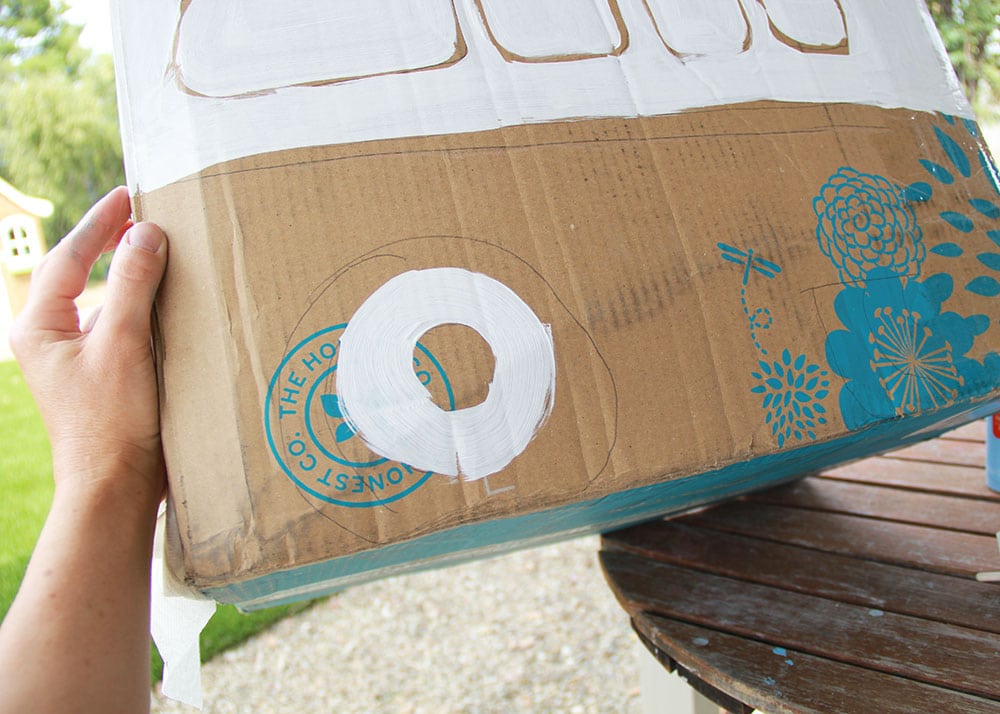
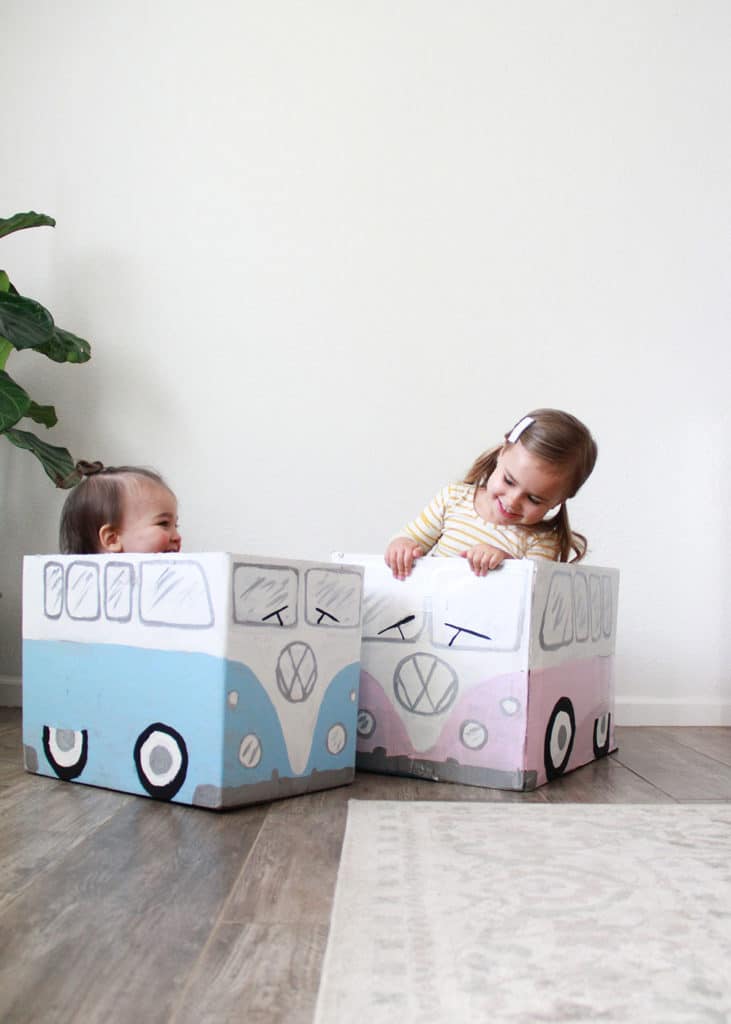
Reproduce the drawing of a VW bus based on the following model found on Pinterest . Then draw the sides and paint the whole thing! And that by taking care to make participate the children in this super manual and creative activity.
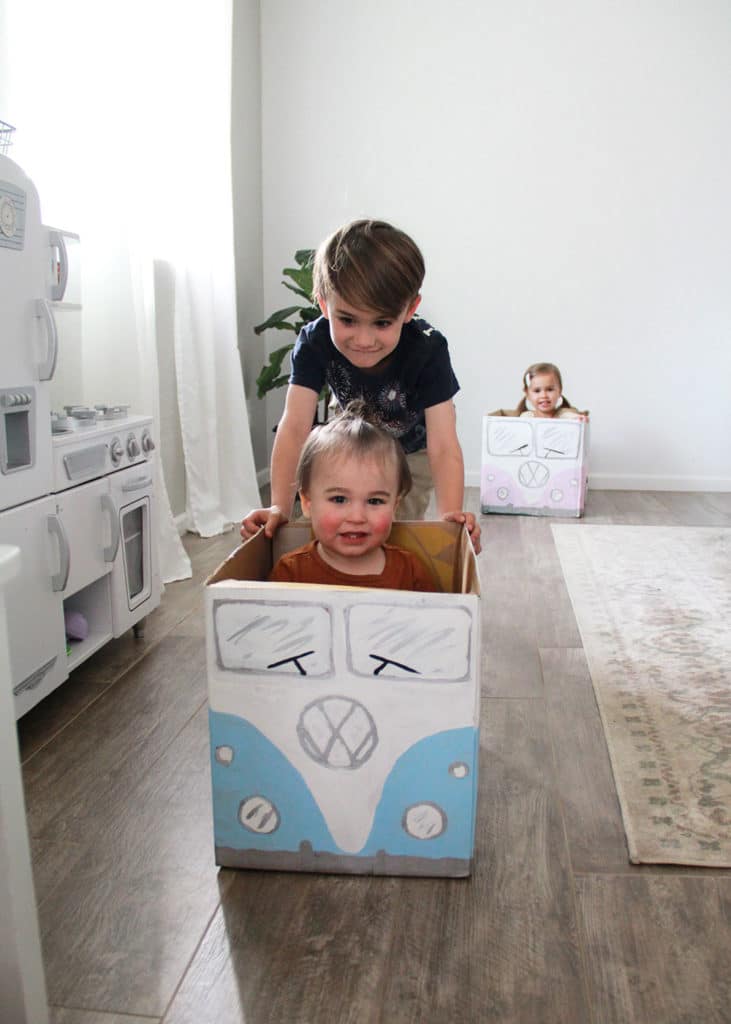
Once the cardboard car is dry, have fun pushing the child in the minibus to start it and slide down an alley! Kids love this babysitting activity. It's also very nice after you've concentrated on making your masterpiece as a team!
Find the details of the DIY on thelovedesignedlife
Racing cars with toilet paper rolls
To make a small car and stay in the recyclingHere is a little tutorial that will allow you to make great racing cars with the kids! A creative, fun and eco-friendly babysitting activity!
You will need:
- Toilet paper rolls
- Scissors
- Paint
- Parisian attachments
- Adhesive tape
- Self-adhesive paper
- Printable car stickers : Stickers of LittleMonster
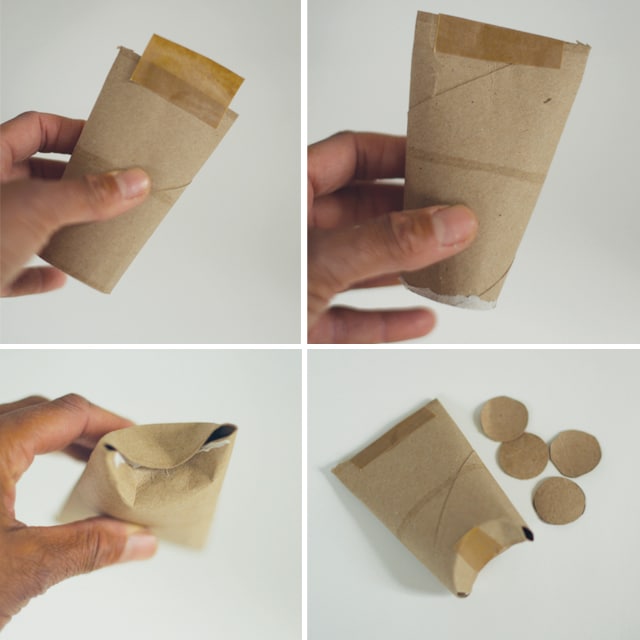
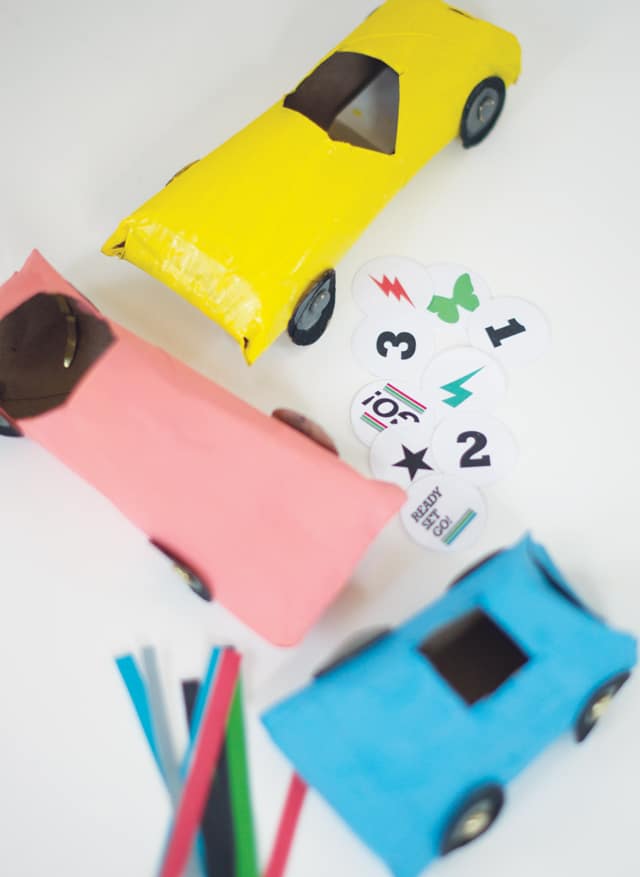
First glue one end of the toilet paper roll together to create the front. Then fold the other end as shown in the picture and glue it together to make the back. Then cut out a small rectangle on top of the roll and have the child paint the cars as they wish!
Meanwhile, cut out 4 circles and 4 smaller circles for each of the rolls to make wheels. Then let the children do the painting.
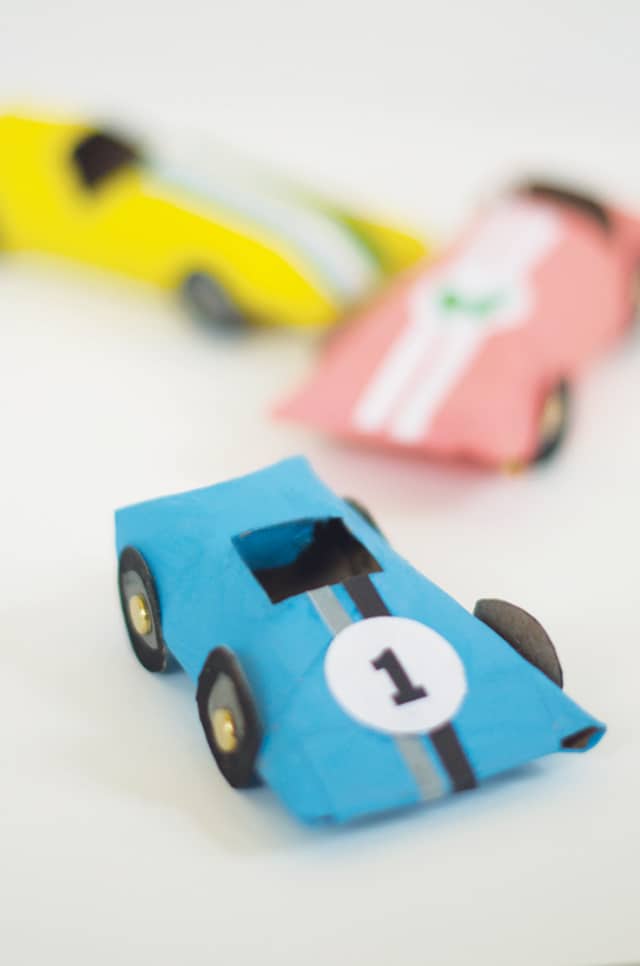
Once everything is dry, glue the wheels on with brads. Finally, print the designs on the sticker paper and let the kids decorate the cars.
So your little cars are ready, thechildren's craft workshop is over! Time for a mini race nanny vs child !
You want to make more toys basedrecycled objects ? Check out our article: Recycling workshop: top 5 toys to make